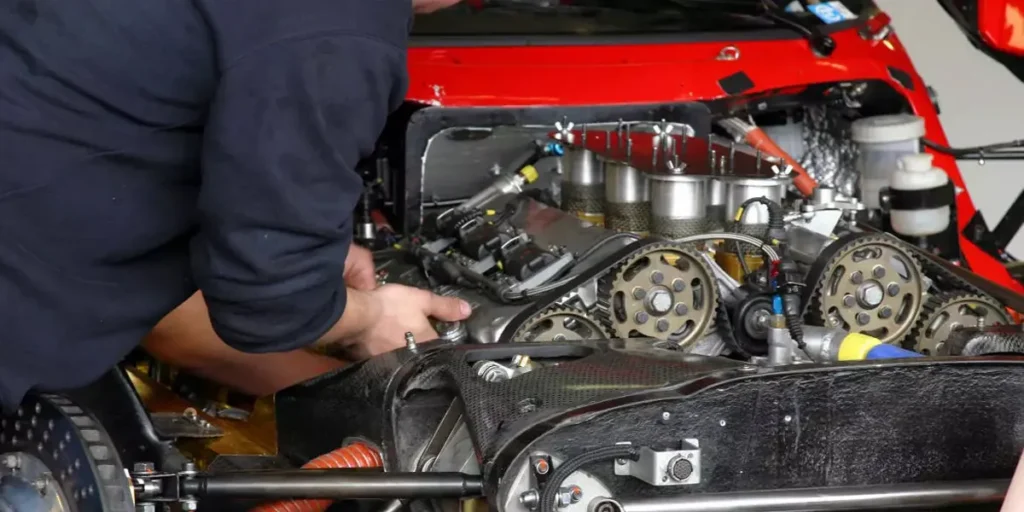
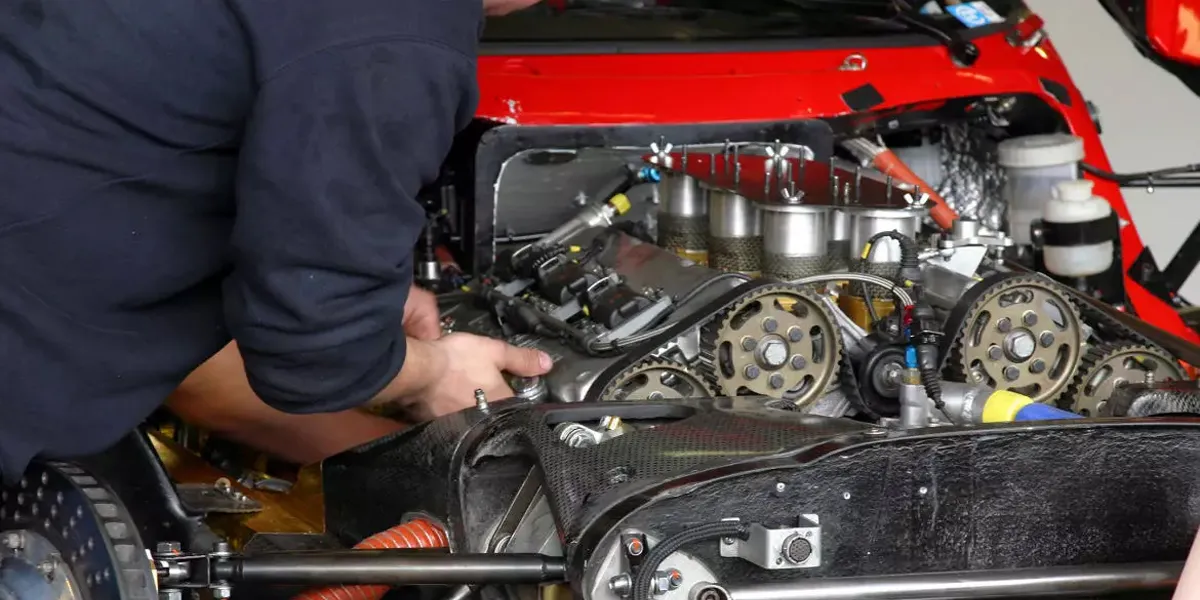
Engine mounts are essential components in your vehicle’s engine system. They secure the engine to the frame, absorbing vibrations, and reducing engine noise. Over time, engine mounts can wear out due to stress, age, or exposure to heat and road conditions, leading to engine vibrations, misalignment, or even damage to other parts.
Replacing engine mounts can be a manageable DIY project with the right tools, parts, and guidance. At Premium Auto Parts LLC, we offer a wide selection of quality engine mounts for a range of vehicles. Follow this step-by-step guide to help you replace your engine mounts and get your vehicle running smoothly again.
Tools and Materials You’ll Need:
- New engine mounts (ensure compatibility with your vehicle)
- Jack and jack stands
- Socket set and wrenches
- Torque wrench
- Pry bar (optional)
- Block of wood (optional)
- Safety gloves and goggles
- Vehicle manual (for specific instructions)
Step 1: Safety First
Before you begin, ensure the vehicle is parked on a flat, stable surface. Engage the parking brake and wear safety gear, including gloves and goggles. Disconnect the vehicle’s battery to avoid any electrical issues while working.
Step 2: Lift the Vehicle
Use a car jack to lift the front of the vehicle, ensuring it is high enough to access the engine mounts. Place jack stands under the car for added safety and remove the front wheels if necessary.
Step 3: Locate the Engine Mounts
Consult your vehicle manual to find the location of the engine mounts. Most vehicles have mounts on the left, right, and sometimes the rear of the engine. These mounts are typically connected to the engine block and the vehicle frame.
Step 4: Remove the Old Mounts
Using a socket wrench, loosen and remove the bolts securing the old engine mounts to the engine and the frame. Some mounts may be more difficult to remove due to rust or age. You can use a pry bar to gently dislodge the mounts if needed.
Step 5: Position the New Mounts
Place the new engine mounts in their correct positions. Align them with the mounting holes on the engine and the vehicle frame. Ensure the new mounts are positioned properly before tightening them down.
Step 6: Tighten the Bolts
Using a torque wrench, tighten the bolts on the engine mounts to the recommended torque specification from the vehicle manual. Tighten each bolt evenly to avoid putting uneven stress on the mounts.
Step 7: Lower the Vehicle
Once all the new engine mounts are secured, carefully lower the vehicle back to the ground using the jack. Remove the jack stands and ensure the vehicle is stable.
Step 8: Test the New Engine Mounts
Reconnect the battery and start the engine. Check for any unusual vibrations or noises. If everything feels smooth, you’ve successfully replaced the engine mounts!
Why Choose Premium Auto Parts LLC?
At Premium Auto Parts LLC, we offer a wide variety of high-quality engine mounts to suit your vehicle’s specific needs. Our parts are designed for durability and precision, ensuring long-lasting performance. Plus, we provide fast shipping and 24/7 customer support to assist you every step of the way.


